

Straight
Good for smaller homes and apartments. It's the least efficient kitchen plan, but it maximizes space.

Home › Planning your dream kitchen
Kitchen planning guide
Start with your layout, then measure your space. Bring your plan to either showroom and our designers will turn it into a free 3D design.
The first step in planning is choosing a layout for your kitchen. There are five basic kitchen shapes: straight, galley, L-shape, U-shape and G-shape.
The work triangle is the standard layout professionals use to design efficient kitchens. Its three points are the refrigerator, the range and the sink.
Good for smaller homes and apartments. It's the least efficient kitchen plan, but it maximizes space.

Efficient for up to two cooks, though it leaves little extra room for household traffic passing through.
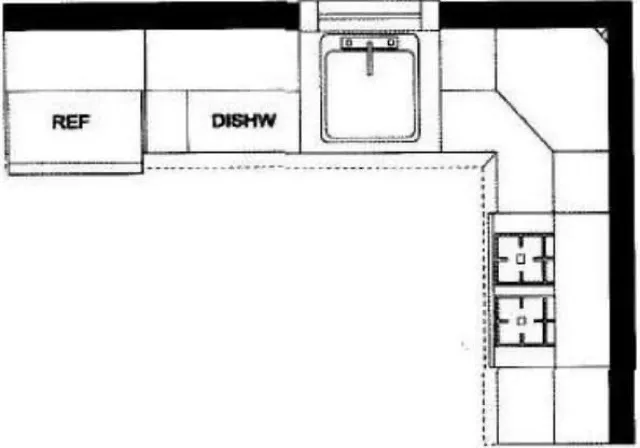
The most common kitchen layout in American homes. It gives plenty of continuous counter space, a well-executed work triangle, and room for a dining area or island.
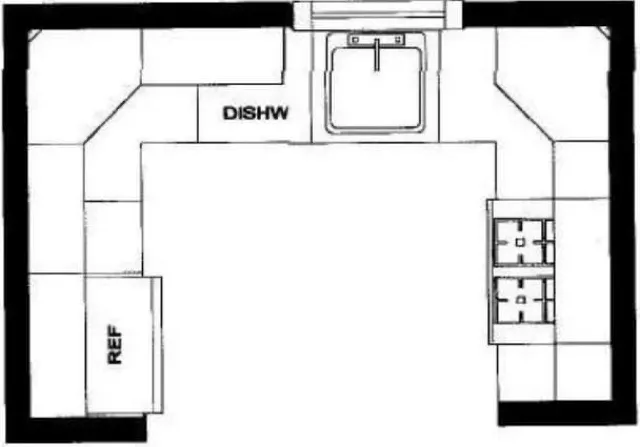
Ideal for the solo cook. Continuous countertops and cabinets surround the cook on three sides, putting everything within reach.
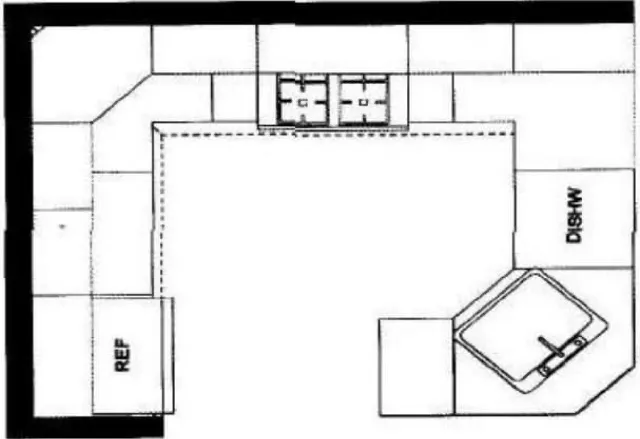
A step up from the U-shape, adding extra cabinet and counter space. To avoid feeling closed in, it works best when two walls open to adjacent spaces.
Accurate measurements are essential. With them, your designer can help you create your dream kitchen.
Prepare a simple floor plan of your existing kitchen, like the diagram shown. Mark the exact locations of doors, windows, range hood vents, gas lines, water lines, drains, switches, outlets, light fixtures and vents. Double-check all measurements.

Measure as outlined below using a tape measure and graph paper.

Show the desired locations of appliances on your drawing. Be sure to mark natural gas locations, 110-volt outlets, wall-mounted telephone locations (T) and cable TV outlets (CTV).
| Appliance / fixture | Type | Size (W × H × D) | Hinge position (L/R) |
|---|---|---|---|
| Refrigerator | |||
| Range hood vent | |||
| Cooktop | |||
| Dishwasher | |||
| Sink | |||
| Disposal | |||
| Trash compactor | |||
| Other |
Bring your measurements to a showroom, or ask us to measure your space, and we'll create your kitchen in 3D for free.